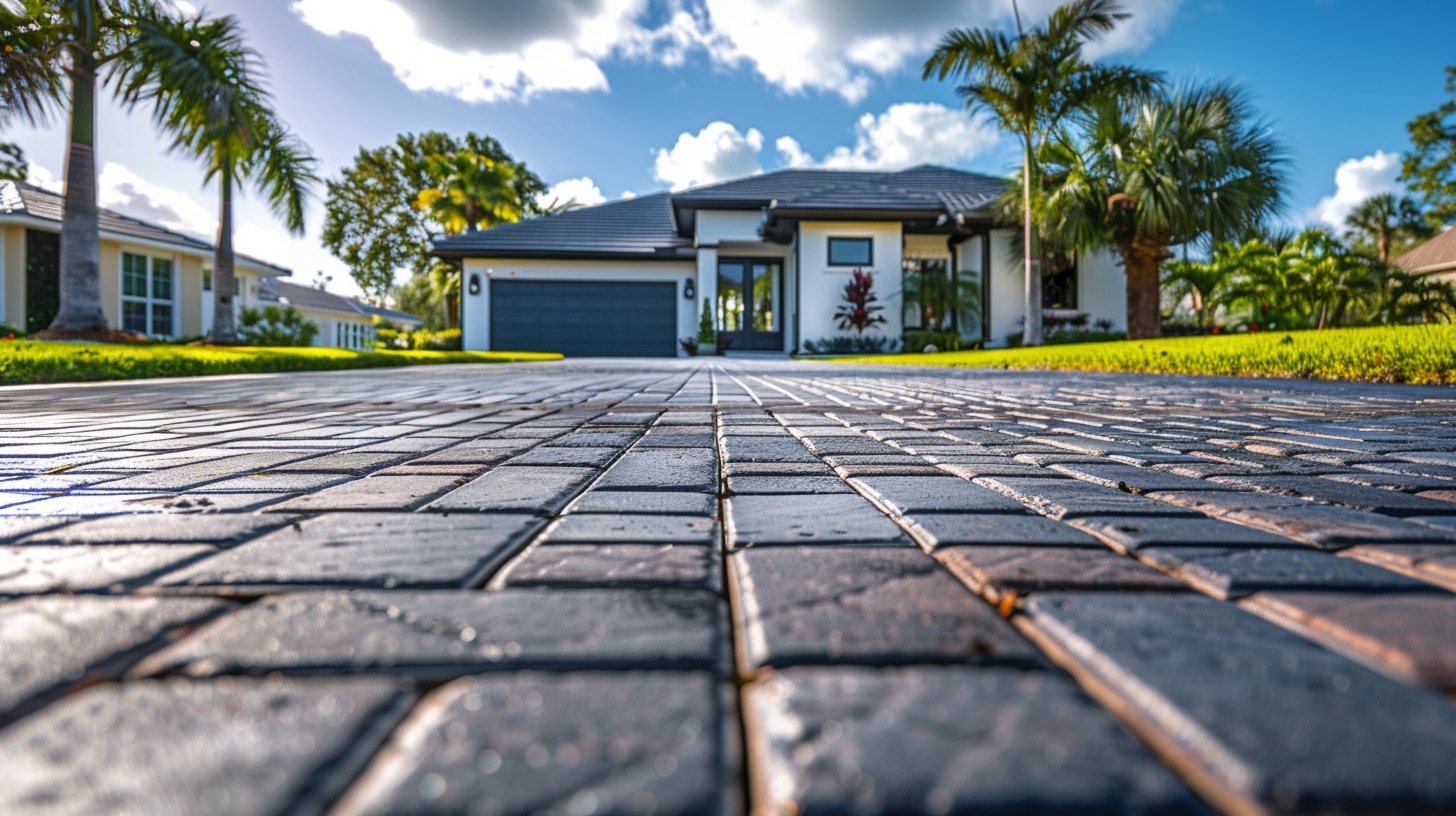
Common Mistakes to Avoid During Driveway Paver Installation

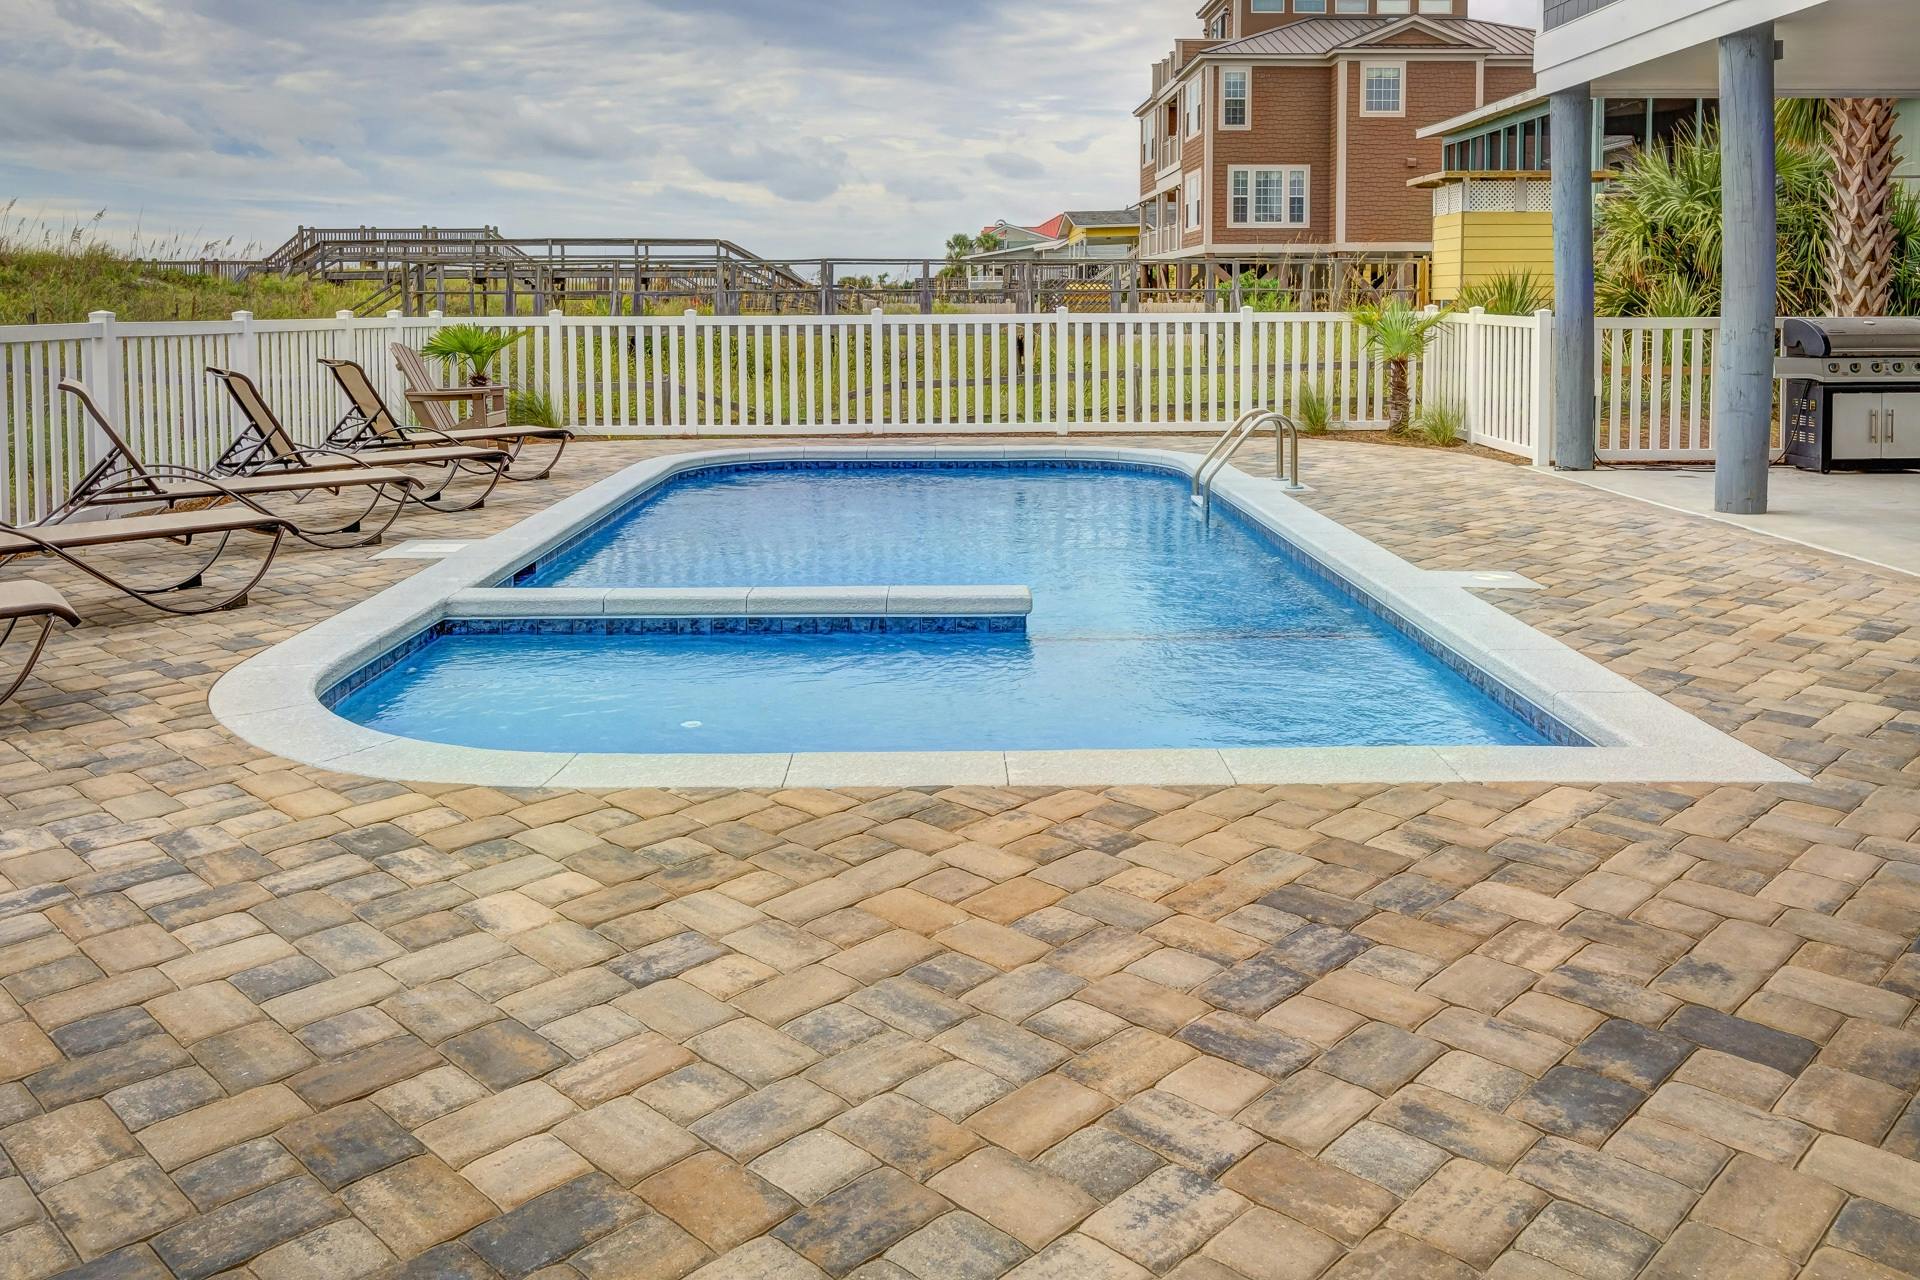
A professionally completed driveway paver installation can dramatically improve curb appeal, durability, and overall property value. Paver driveways are known for their strength, flexibility, and long lifespan compared to traditional concrete surfaces. However, these benefits depend heavily on how the driveway is installed. Even high-quality pavers can fail prematurely if proper installation techniques are not followed.
Many driveway problems — sinking areas, shifting pavers, drainage issues, or weed growth — are not caused by the materials themselves but by avoidable installation mistakes. Understanding these common errors helps homeowners make informed decisions and ensures their investment lasts for years.
Below are the most common driveway paver installation mistakes and why avoiding them is critical for long-term performance.
Why Proper Driveway Paver Installation Matters
Unlike patios or walkways, driveways must support the constant weight and movement of vehicles. This makes installation far more technical than simply laying pavers on the ground.
A properly installed paver driveway provides:
- Strong load-bearing support for vehicles
- Resistance to cracking and shifting
- Effective water drainage
- Long-term structural stability
- Improved curb appeal and home value
When installation shortcuts are taken, problems may not appear immediately but often develop within months or a few years. Repairs can become costly because correcting failures usually requires removing and rebuilding large sections of the driveway.
Proper preparation and installation are what determine whether a driveway lasts decades or begins failing early.
Mistake #1 – Poor Base Preparation
The most common and costly mistake in driveway paver installation happens beneath the surface — improper base preparation.
The base layer is the foundation that supports the entire driveway system. If it is not installed correctly, pavers will eventually sink, shift, or become uneven regardless of their quality.
Why Base Preparation Is Critical
A strong base distributes the weight of vehicles evenly across the surface. Without proper support, pressure causes soil movement, leading to dips and uneven areas.
Key elements of proper base preparation include:
- Excavating to the correct depth
- Removing soft or unstable soil
- Installing multiple layers of compacted aggregate
- Creating a stable, load-bearing foundation
Skipping excavation depth or using insufficient base material is one of the main reasons driveways develop low spots or rutting over time.
Mistake #2 – Ignoring Proper Drainage and Slope
Water is one of the biggest threats to any paved surface. Poor drainage planning during driveway paver installation can lead to erosion, settling, and long-term structural damage.
A driveway should never allow water to pool or flow toward the home’s foundation.
Common Drainage Errors
- Installing pavers on a flat surface without slope
- Directing runoff toward structures
- Failing to account for heavy rainfall
- Improper grading of the base layers
A properly designed driveway includes a slight slope that allows water to drain safely away. This prevents water from weakening the base material and reduces the risk of pavers shifting over time.
In climates with frequent rain or moisture exposure, drainage planning becomes even more important for long-term durability.
Mistake #3 – Using Low-Quality or Incorrect Materials
Not all pavers or installation materials are created equal. Choosing low-quality materials to reduce upfront costs often results in expensive repairs later.
Material Issues That Cause Problems
Inferior Pavers
Low-density or poorly manufactured pavers may crack, fade, or wear down faster under vehicle traffic.
Incorrect Base Aggregates
Using the wrong type of gravel or base material prevents proper compaction and stability.
Improper Joint Sand
Joint sand locks pavers together. Poor-quality sand allows movement, weed growth, and erosion.
Professional installers carefully select materials designed specifically for driveway applications, which must withstand heavier loads than patios or walkways.
Mistake #4 – Skipping Edge Restraints
Edge restraints may not be visible once installation is complete, but they play a crucial role in maintaining driveway structure.
Edge restraints hold the pavers tightly in place and prevent lateral movement caused by vehicle pressure and natural ground shifting.
What Happens Without Edge Restraints?
- Pavers begin spreading outward
- Gaps appear between stones
- Edges become uneven
- Structural integrity weakens over time
Without proper edging, even a well-installed driveway can slowly lose its shape. Strong edge restraints help the entire paver system function as a single, stable surface.
Mistake #5 – Improper Compaction During Installation
Compaction is one of the most technical parts of driveway paver installation and is often underestimated. Each layer — from the base material to the final pavers — must be compacted properly.
Why Compaction Matters
Proper compaction removes air pockets and stabilizes materials so they can support heavy loads without settling.
Common compaction mistakes include:
- Compacting only the surface layer
- Skipping compaction between base layers
- Using inadequate equipment
- Rushing installation timelines
Poor compaction leads to uneven settling, loose pavers, and surface dips that worsen over time. Professional installers use specialized equipment and follow a step-by-step compaction process to ensure stability.
Mistake #6 – Incorrect Joint Sand Application
Joint sand is more than a finishing touch — it is a structural component that locks pavers together and helps distribute weight evenly across the driveway.
When applied correctly, joint sand:
- Prevents paver movement
- Reduces weed growth
- Improves water resistance
- Enhances overall stability
Common mistakes include underfilling joints, using the wrong sand type, or failing to compact the sand properly into the joints. These errors allow pavers to shift and create gaps that collect debris and moisture.
Mistake #7 – Not Sealing or Maintaining Pavers Properly
Many homeowners assume that once a driveway is installed, no further care is required. While paver driveways are low maintenance compared to concrete, proper sealing and routine maintenance play an important role in protecting your investment.
Sealing is not always mandatory immediately after installation, but it provides several long-term benefits when applied correctly.
Benefits of Sealing Pavers
- Protects against stains from oil, dirt, and vehicle fluids
- Enhances and preserves color appearance
- Helps stabilize joint sand
- Reduces weed growth and insect intrusion
- Improves resistance to moisture penetration
Failing to seal or maintain pavers can lead to fading, joint erosion, and surface wear over time. Regular cleaning and occasional resealing help maintain both durability and appearance for years.
DIY Installation vs Hiring a Professional Contractor
With many online tutorials available, some homeowners consider installing driveway pavers themselves. While DIY projects may work for small patios or walkways, driveway paver installation is far more demanding due to weight loads and structural requirements.
Challenges of DIY Driveway Installation
- Requires excavation equipment and plate compactors
- Precise grading and drainage planning
- Knowledge of base layer construction
- Accurate compaction techniques
- Understanding of soil conditions
Small installation mistakes may not appear immediately but can cause major problems later, including sinking areas or uneven surfaces.
Why Professional Installation Often Saves Money
Experienced contractors follow proven installation methods, use proper equipment, and understand how soil, drainage, and materials interact. Professional installation reduces the risk of costly repairs and ensures the driveway performs as intended long-term.
In many cases, correcting a failed DIY installation costs significantly more than hiring professionals from the beginning.
Signs of a Poorly Installed Paver Driveway
Even if a driveway looks good initially, certain warning signs indicate improper installation beneath the surface.
Watch for these common indicators:
- Uneven or wavy surface areas
- Standing water after rainfall
- Loose or rocking pavers
- Gaps forming between stones
- Edge spreading or shifting borders
- Excessive weed growth between joints
- Sunken tire tracks where vehicles park
These issues typically point to problems with base preparation, compaction, or drainage — all critical parts of proper driveway paver installation.
How to Ensure a Successful Driveway Paver Installation
Homeowners can greatly improve project outcomes by understanding what a quality installation process should include.
Driveway Installation Success Checklist
- Proper excavation to appropriate depth
- Stable, compacted aggregate base
- Correct grading and drainage slope
- High-quality pavers designed for vehicle loads
- Secure edge restraints
- Layer-by-layer compaction
- Correct joint sand installation
- Optional sealing for long-term protection
Working with an experienced contractor who follows these steps ensures your driveway remains durable, attractive, and structurally sound for many years.
Frequently Asked Questions (FAQs)
How long does driveway paver installation last?
When installed correctly, a paver driveway can last 25–30 years or more. Proper base preparation and maintenance are key factors in longevity.
What is the most common cause of paver driveway failure?
Poor base preparation is the leading cause of driveway problems. Without a properly compacted foundation, pavers will eventually shift or sink.
Do driveway pavers require maintenance?
Yes, but maintenance is minimal. Occasional cleaning, joint sand touch-ups, and resealing every few years help maintain appearance and performance.
Are paver driveways better than concrete?
Paver driveways are often more durable and easier to repair than concrete. Individual pavers can be replaced without removing the entire surface, and they are less prone to cracking.
Can driveway pavers handle heavy vehicles?
Yes. When installed correctly with a proper base, driveway pavers are designed to support normal vehicle traffic safely.
How long does installation typically take?
Most driveway pool paver installation projects are completed within several days, depending on driveway size, site conditions, and weather.
Ready to Upgrade Your Driveway?
Avoiding common installation mistakes is the key to building a driveway that looks great and performs reliably for decades. Professional planning, quality materials, and expert workmanship make a significant difference in long-term durability.
If you’re considering a new driveway or replacing an aging surface, working with an experienced driveway paver installation professional ensures the job is done right from the ground up. Schedule a consultation or request a free estimate to start designing a durable, attractive driveway that enhances your home’s curb appeal and value.
Schedule your free consultation today.
Call us or use our online form to request your no-obligation estimate.